


© 2026 Certifix, Inc. All Rights Reserved. Privacy Policy Terms of Use
Why Choose Certifix
Trusted. Experienced. Nationwide.
Certifix makes fingerprinting simple and reliable. With over 1,200 participating locations nationwide, millions of fingerprints processed, and nearly two decades of experience, we help individuals and organizations complete fingerprinting requirements accurately and efficiently.
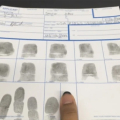
Whether you need a Live Scan submission, fingerprint card service, or an FBI background check, our standardized process helps ensure a smooth experience from enrollment through fingerprint capture.
What You Can Expect
-
 Nationwide network of participating locations
 -
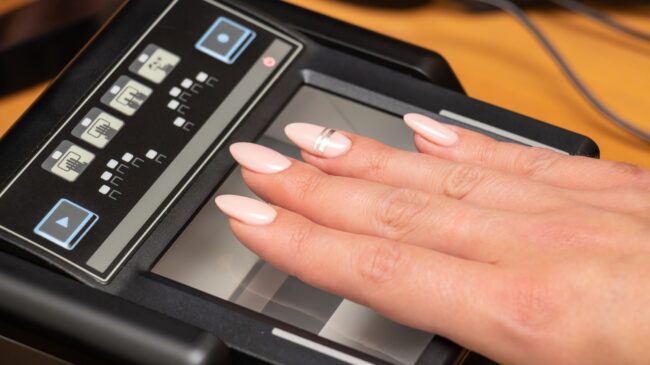
Secure and standardized fingerprint capture process
-
Support for a wide range of state and federal fingerprinting programs